What is the VisioUtil?
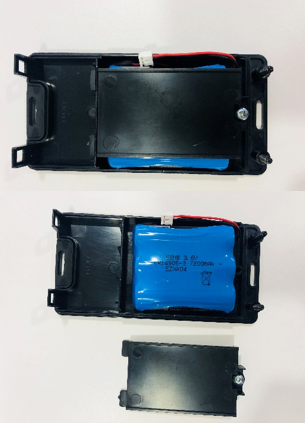
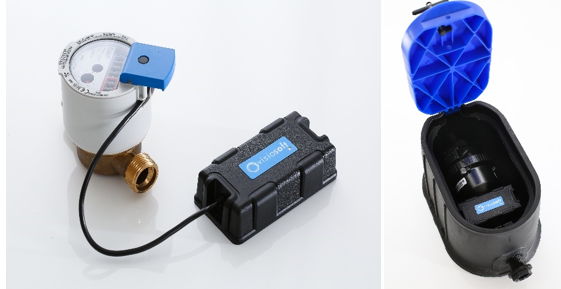
The VisioUtil is an application ready Sigfox enabled transceiver allowing to transmit data from utility meters (water, gas, electricity & heat meter compliant). The VisioUtil provides connection to national and global network infrastructure for reliable and secure communications. Meter data is available on the provided network backend for easy integration into new or existing platform front-ends. Powered through a Li-SOCL2 battery, it allows standard autonomy up to 10 years.
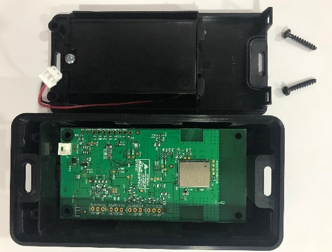
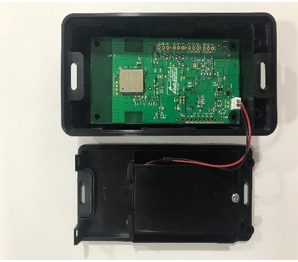
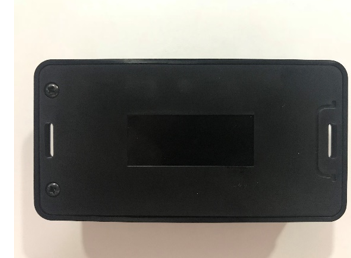
The VisioUtil device
* Meter data through Sigfox compliant radio networks
*
Utility Meter Support (water, gas, electricity & heat meter compliant)
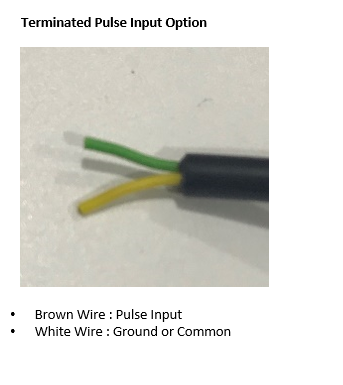
* Supports various
meter reading interface standards – Pulse for device Sample
* Long range
connectivity
* Low Cost, Low power design with 10+ year autonomy
* Small form factor
with IP67 enclosure
Battery Lifetime Estimation
The table below provides a battery lifetime estimate based on:
1.
Theoretical battery modelling
2. Battery exhaustion profiling
3. Device power
profile measurement for the various device states
4. The default VisioUtil is shipped with a 3
cell battery pack
5. Room temperature was used as reference – Temperature fluctuations will
have an effect on the battery lifetime and capacity
6. Below table can be used as a guideline

Typical Applications
* Smart Metering Applications